Pour utiliser nos applis et configurations, veuillez d'abord créer un compte ExpressVPN.
This tutorial will show you how to set up MediaStreamer on macOS devices.
MediaStreamer is a DNS service designed to improve your streaming experience. If you already have the ExpressVPN app on your Mac device, you do not need to set up MediaStreamer, but you can use it as an alternative for streaming.
Note: MediaStreamer is not a VPN and does not offer the privacy and security benefits of a VPN. MediaStreamer does not have a graphical user interface. You cannot change locations on MediaStreamer.
Before you start, you will need:
- An active ExpressVPN subscription
- A subscription for the streaming service you want to use (Certain streaming services are only available in certain regions. To use them, you may need to change the region associated with your streaming service account.)
Jump to…
1. Register your IP address on the ExpressVPN website
2. Get your MediaStreamer IP addresses
3. Configure the DNS servers on your macOS
Remove MediaStreamer DNS settings
1. Register your IP address on the ExpressVPN website
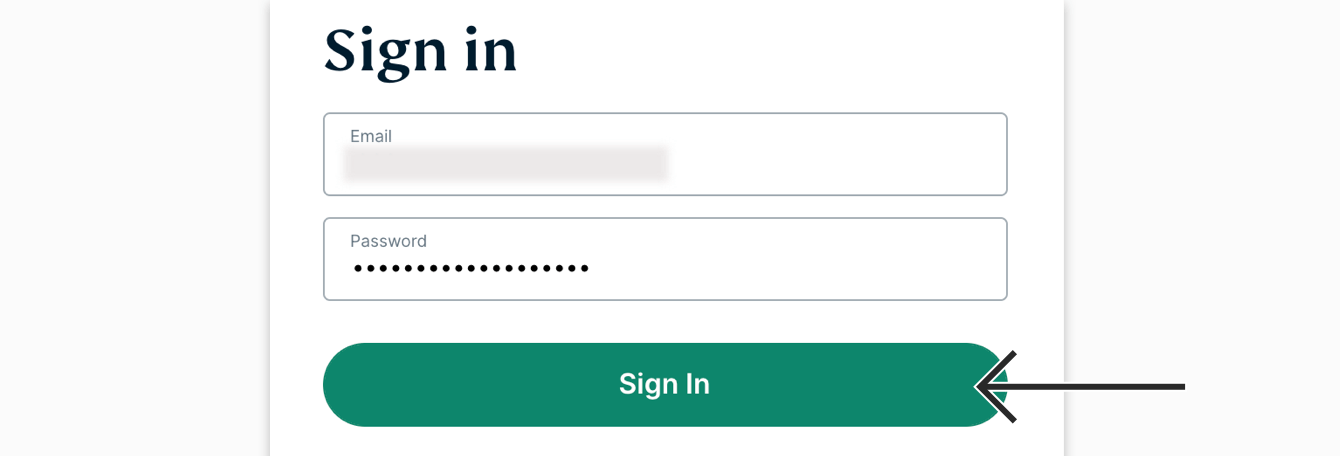
Go to the ExpressVPN DNS settings page. If prompted, enter your ExpressVPN credentials and select Sign In.
Enter the verification code sent to your email.
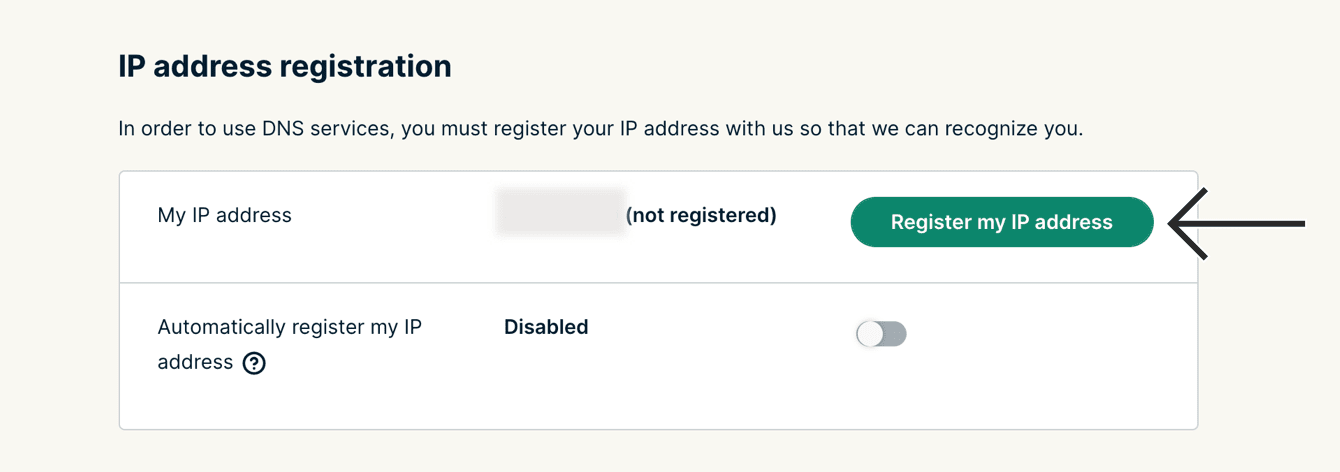
Under IP address registration, select Register my IP address. If you see “registered” next to your IP address, there is no need to select this option again.
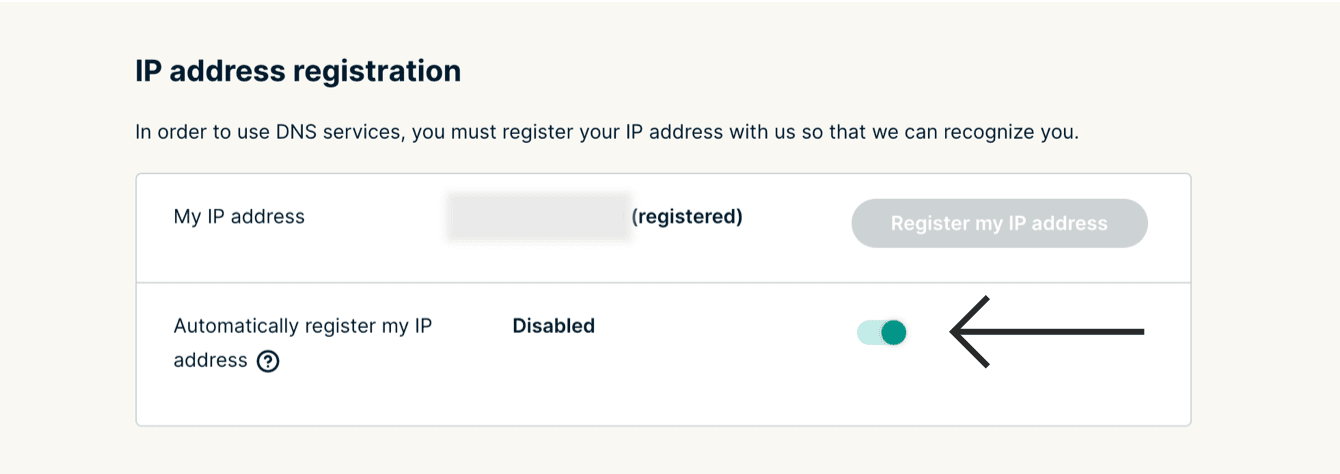
Toggle Automatically register my IP address on. This is recommended as it automatically tracks changes to your IP address.
Once you have enabled Automatically register your IP address, be sure to keep your registered IP address updated by occasionally signing in to your account on the ExpressVPN website on your Mac device. Alternatively, you can use the ExpressVPN app (on any device) while connected to the same network as your Mac device. These actions grant the devices on your network continued access to MediaStreamer.
Need help? Contact the ExpressVPN Support Team for immediate assistance.
2. Get your MediaStreamer server IP address
Go to the ExpressVPN setup page. On the right, you will find the MediaStreamer DNS server IP addresses.
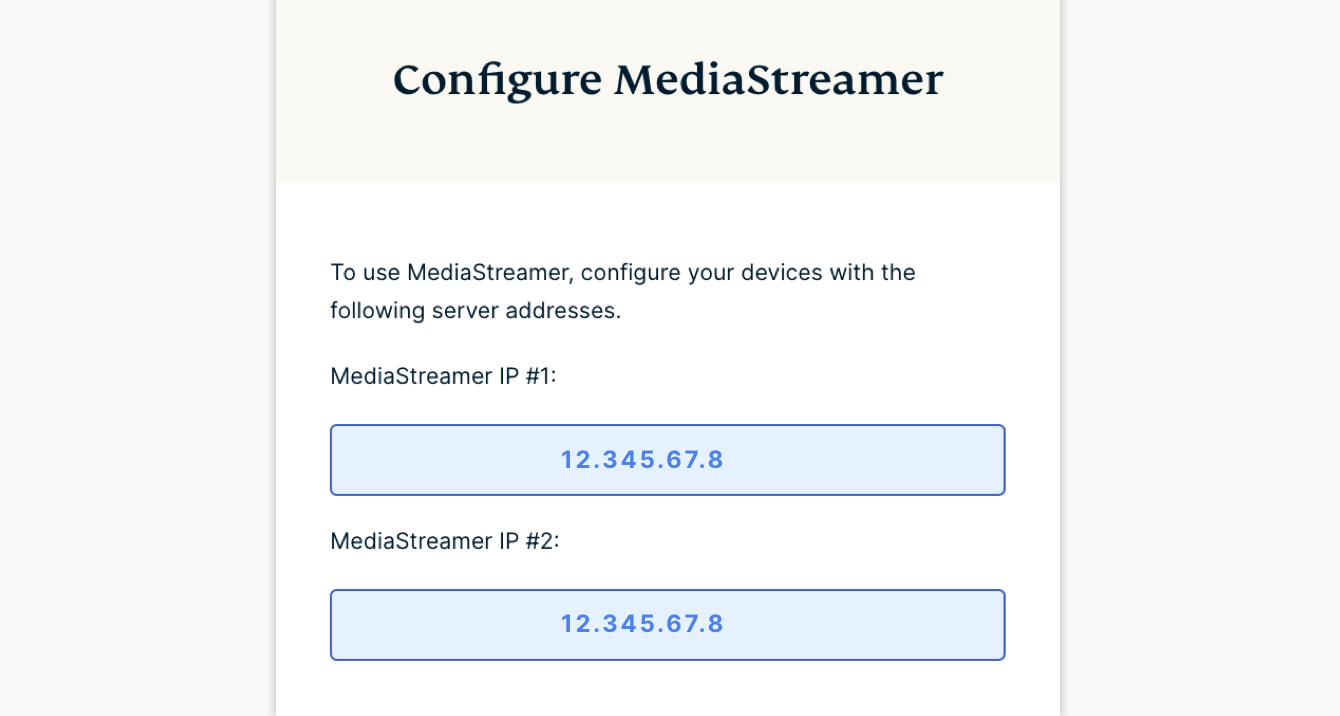
Keep this browser window open. You will need this information for the setup later.
Need help? Contact the ExpressVPN Support Team for immediate assistance.
3. Configure the DNS server on your macOS
On your Mac device, click ![]() > System Preferences…
> System Preferences…

Click Network.

In the left sidebar, select your current connected network. Click Advanced…

At the top navigation bar, click DNS.

If there is any existing DNS server address under DNS Servers, keep a note of it. After that, select it and click ![]() to remove it.
to remove it.

Click ![]() . Enter the first MediaStreamer IP address you found earlier.
. Enter the first MediaStreamer IP address you found earlier.
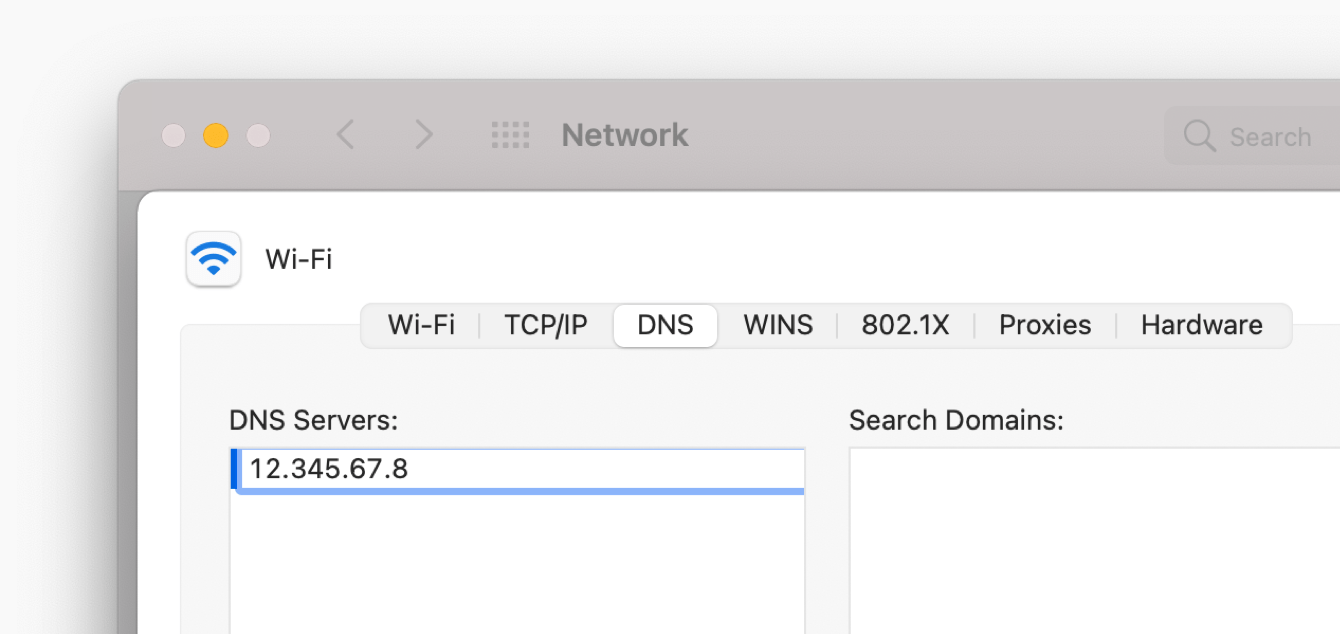
Repeat this step to enter the second MediaStreamer server IP address. Click OK.

You have completed the MediaStreamer setup on your Mac device.
Need help? Contact the ExpressVPN Support Team for immediate assistance.
Remove MediaStreamer IP addresses
- On your Mac device, click
 > System Preferences…
 - Select your current connected network. Click Advanced…
- Click DNS.
- Click the MediaStreamer IP address and
 to remove it. Repeat this step if you have configured more than one MediaStreamer IP address.
 - Click OK.
Need help? Contact the ExpressVPN Support Team for immediate assistance.
